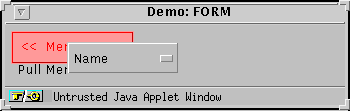
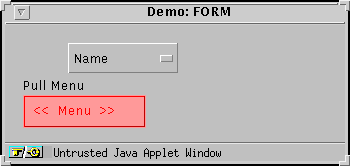
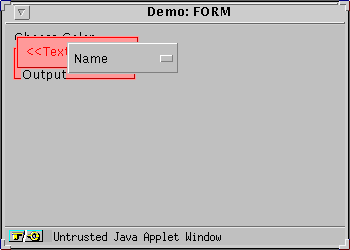
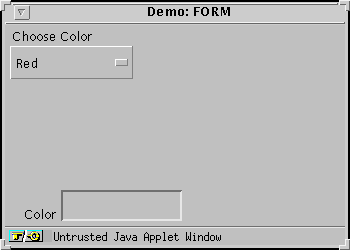
and select Name on the pull down menu and type Choose Color

followed by <cr> which will assign Choose Color as the Icon and Place Holder name.
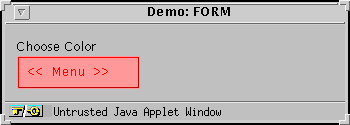
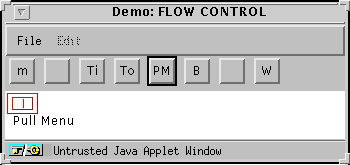
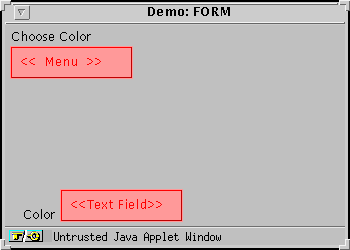
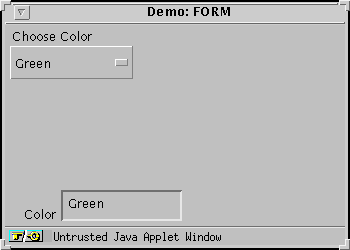
- NOTE: The user can change the name of the FLOW CONTROL Icon or the FORM <<Menu>> Place Holder at any time by holding the shift key while pressing the mouse button pointer on the Icon or Place Holder. This operation generates another pull down menu with which the user can assign a new name. This same operation is also used to assign other properties to all other Icons and Place Holders. In this example while holding down the shift key click on the mouse button pointer on the Choose Color Place Holder and the Name pull down menu reappears. From the pull down menu select Add Item and type in the name Red.
Continue by adding Green and Blue to the name list for this pull down menu.
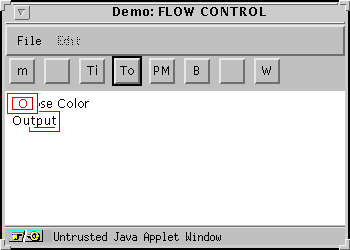
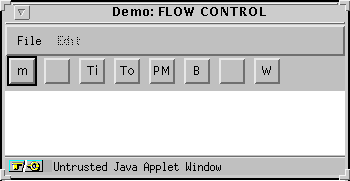
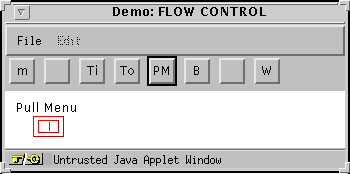
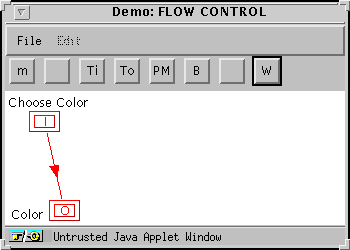
- Click on the Input Icon.
- Click on the Output Icon.
Next we add an Input <<Text Field >> and <<Button>> icons by pressing on the "Ti" and "B" buttons at the top of the FLOW CONTROL window. Reposition, rename, and connect these modules to the Color module as was done before. Here we named the <<Button>> as "All Colors"" and the Input <<Text Field >> as "Other Color".

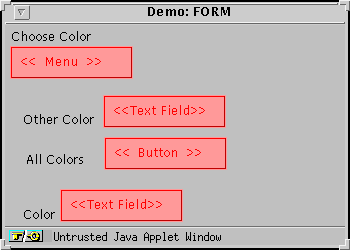
One last step, we must insert a label for the <<Button>> module. This is done by holding the shift key down while pressing the mouse button on the <<Button>> module and then selecting "Text" from the pull down menu. In the text window type "White" as the text name for the "All Colors"
<<Button>> module followed by a <cr>. Finally select a mode change by selecting the "M" button and the FORMS window is complete.
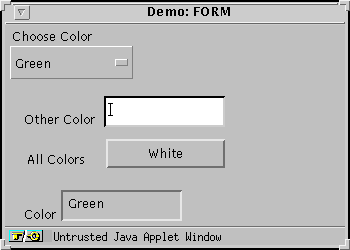
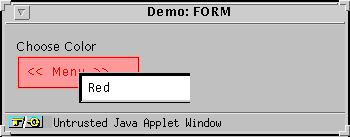
Now you can use the FORMS window as originally designed. Select from any of the three colors (Red, Green, Blue) form the "Choose Color" module, or enter any other color in the "Other Color" module, or select the color white for the "All Colors" button.